Today I started working properly on the second boss of the game so I thought I’d do things a little differently and post updates as I’m building it.
As she hails from zone two, which has a laboratory / hydroponics / medical vibe to it, the concept I settled on was “Regal Gardener”.

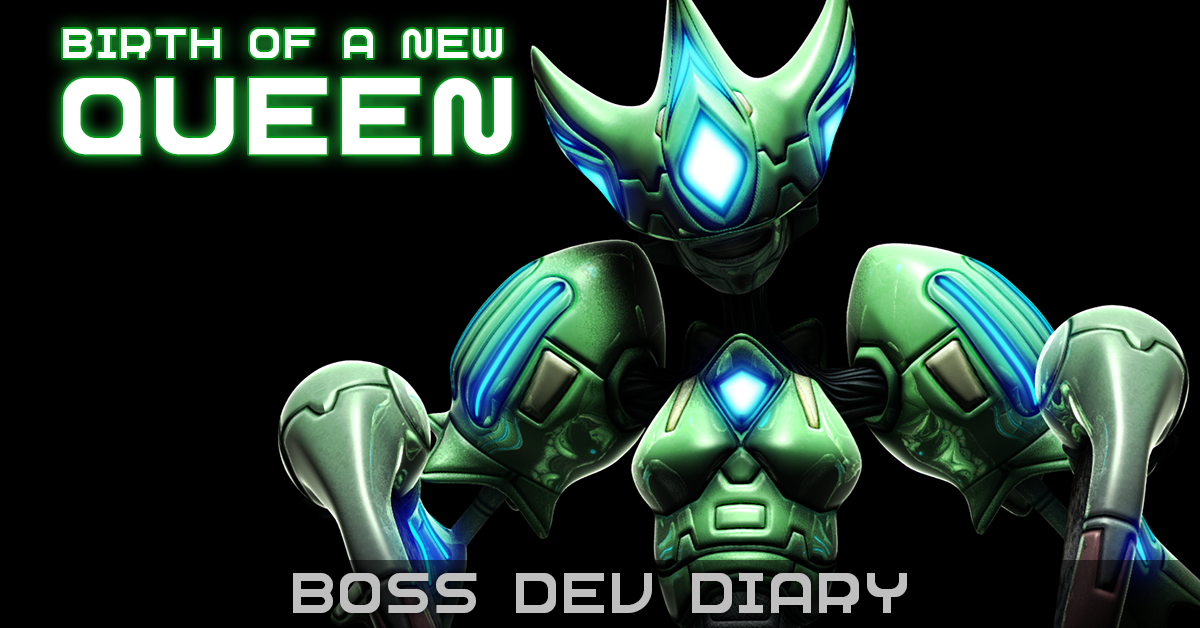
she grins because she has a cool hat
So her hands incorporate some kind of pruning shear motif and her ‘dress’ is formed of plates that will wrap back around her when she needs to turn into a protective ball. (this is part of her gameplay) Since Embryo doesn’t really have a face, I thought giving her a mouth/grin would give some nice contrast, especially with the hidden eyes.
My typical approach to character modelling is to sketch up a front and side. Since I’ll be the one working off it, I’m only drawing what I think I need, and I’m working pretty rough. Mostly I want to nail some of the more interesting shapes and forms so I get some character into the mesh. I’m getting better with my tablet, but for stuff like this I’m still more comfortable with a pencil.

here’s a fun game, try to spot where I stopped thinking detail was important!
So I scan, line it up nice, skew things back into alignment and dropped some quick colour on it to sort of see how it’d feel. As well as figuring out proportions and the shapes of things I’m thinking a bit about the dress too – from the side you can see how the way she has her hips tilted forwards requires the front plates to curl up more than the back. But by the looks of things I can get away with six segments, not sure how many radial yet.

using the power of photoshop she’s no longer poking herself in the butt!
On Embryo, I left the position of his indicator lights till the texturing stage, but this character is supposed to be a little less haphazard so I wanted to have a rough idea of where they’d go. (all enemies in Cactus have indicator lights that fade between blue and red to indicate their hitpoints)
Next I dim the picture slightly, and drop it onto a plane inside 3ds Max. I snip it up and reposition it against the origin so I have a front and two side plates. (you can’t see the left hand one in this picture as I have backfacing off)

that’s the low low low low poly version there in the middle
And now I’m ready to start building a mesh!